 RSS - Posts


Today I have a time. I tried to use Daz Studio dForce clothes with Poser 11 again.
This time I tried use Lace Set.
First, load only one clothing item into Daz Studio.
Apply “Chibi” pose to the clothing.
And show “Mesh Resolution” of Parameters. Set “View SubD Level” and “Render SubD Level” to 0.

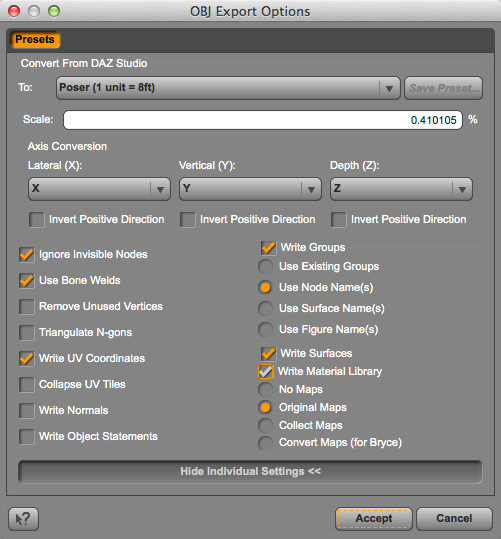
Export the object. Export command is in File menu. Select Poser unit. I used the default for other settings.
And, export the dress in the same way.
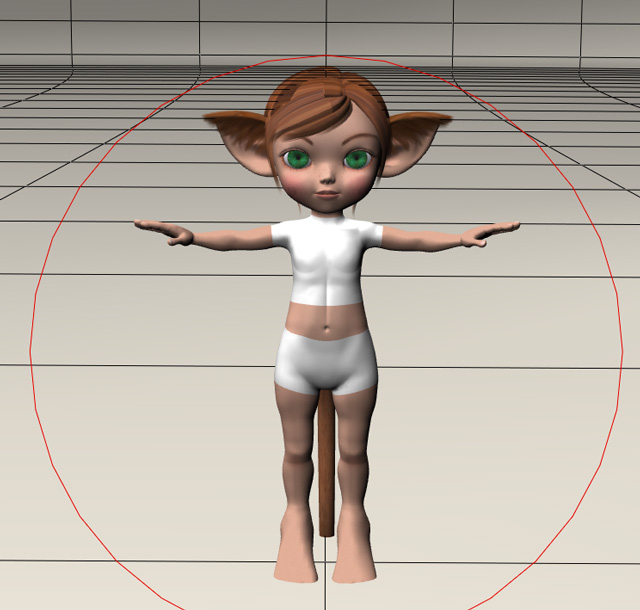
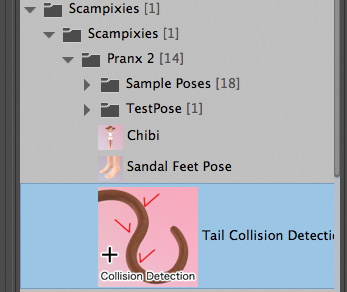
Load Pranx 2 in Poser. And apply “Chibi” pose and “Tail Collision Detective” pose to Pranx. I attached “Tail Collision Detective” pose at the end of the previous article.
I will uncheck the tail in Cloth Room’s collision settings. But only that way doesn’t seem to enable collision settings of Pranx’s tail. Incidentally props’ collision settings work by on-off of checking in Cloth Room.
Import each clothing objects by uncheck all import options.
Poser version and Daz Studio version of Pranx are different figures. The structure of bones is different. And “Chibi” has more differences because it is a scaling morph. So exported objects do not fit Pranx’s body firmly.

Adjust XYZ scales and XYZ translations of the clothing object to wrap Pranx’s body. I set the scale of the pants to 95 percent and the dress to 85 percent. And I adjusted Y translation and Z translation, too. Pay attention to the waistline and leg holes, or the neckline and wrist holes. Adjust the clothing based on where it should fit the body.
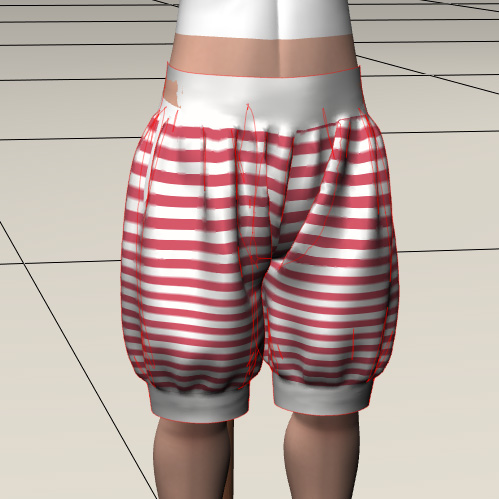
I am going to adjust the buttocks of the clothing by Morph Tool.
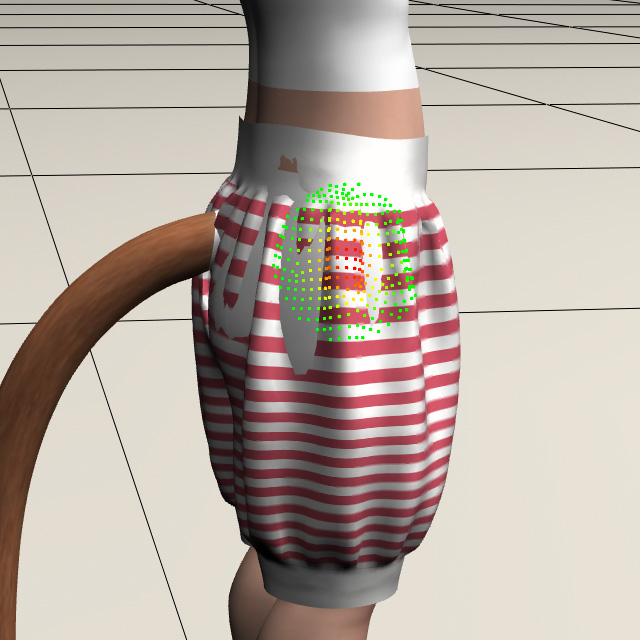
Select the clothing prop, and create a morph target. A morph is added to the properties palette of the clothing. Set the value of it to 1.
Click a small triangle on the morph name’s right to select “Edit morph”.
Select “Pull” action and touch on the clothing.
If I deformed the clothing too much, I can modify it with another action. And, I can start over with “Zero Morph”.
Parented the clothing to the character’s body. And prepare the dress in the same way. I wrote about the simulation in the previous article.
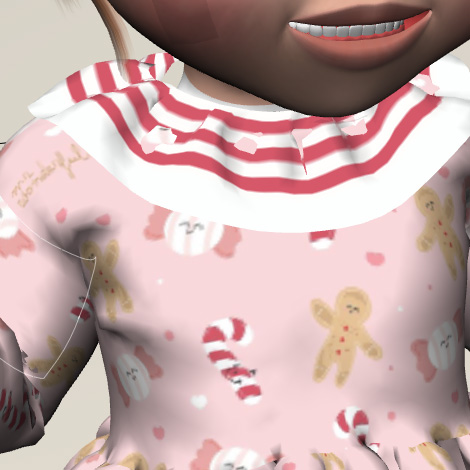
This time I checked “Cloth self-collision” of this simulation. Because the design of this dress has a large collar that over the shirt.
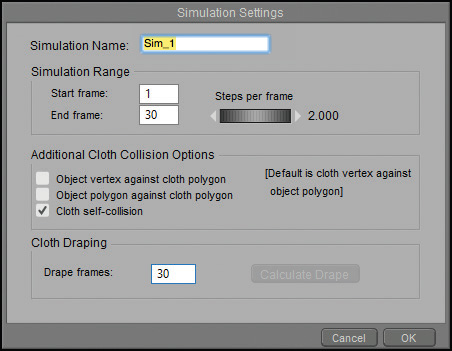
But, still the part of collar is sink a little in the shirt.
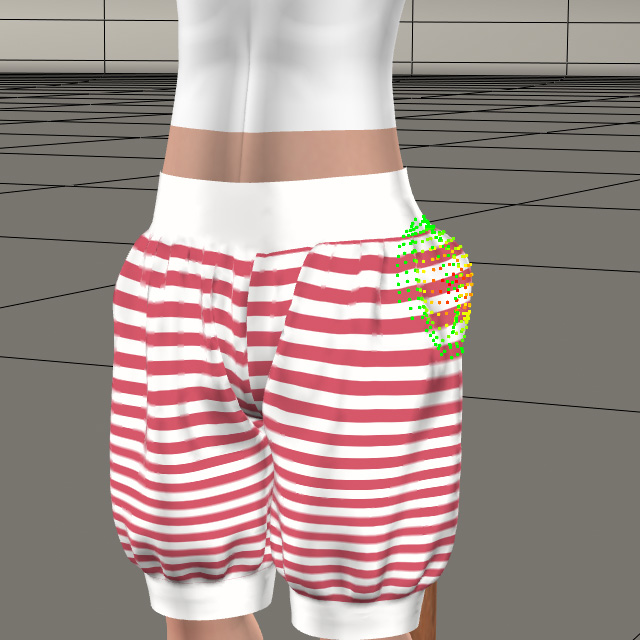
I created another morph target to the dress.
If I use “Pull” action as it is, the shirt will be deformed along with the collar.
Look at the bottom of “Morphing Tool” palette. I can select a part or a material with “Restrict to”. I chose the collar material “NeckRuffle”.
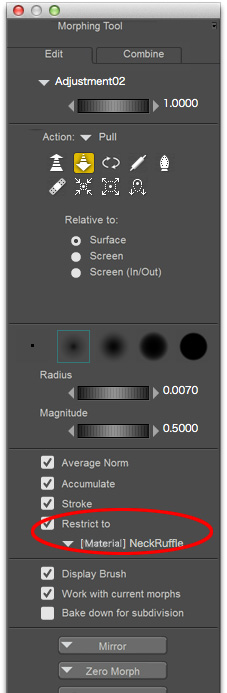
This will apply the action only to the surface of selected material.
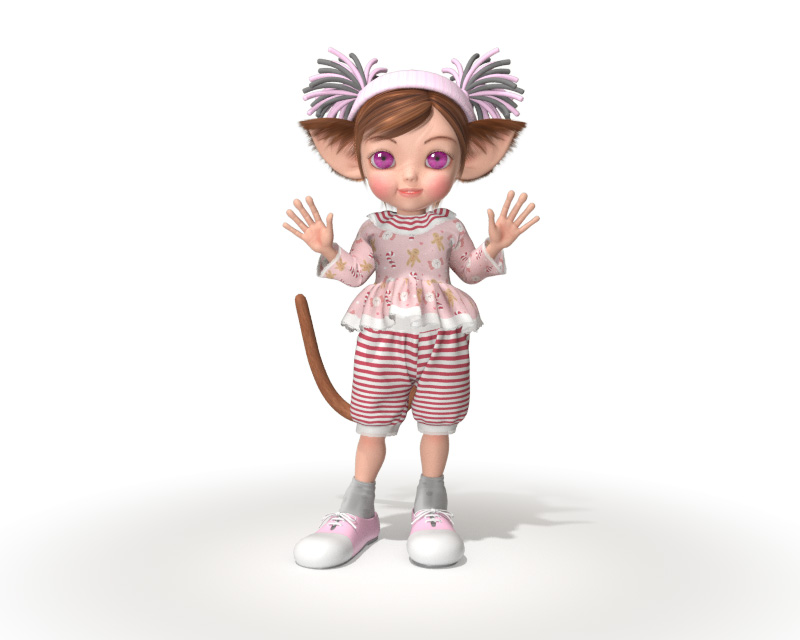
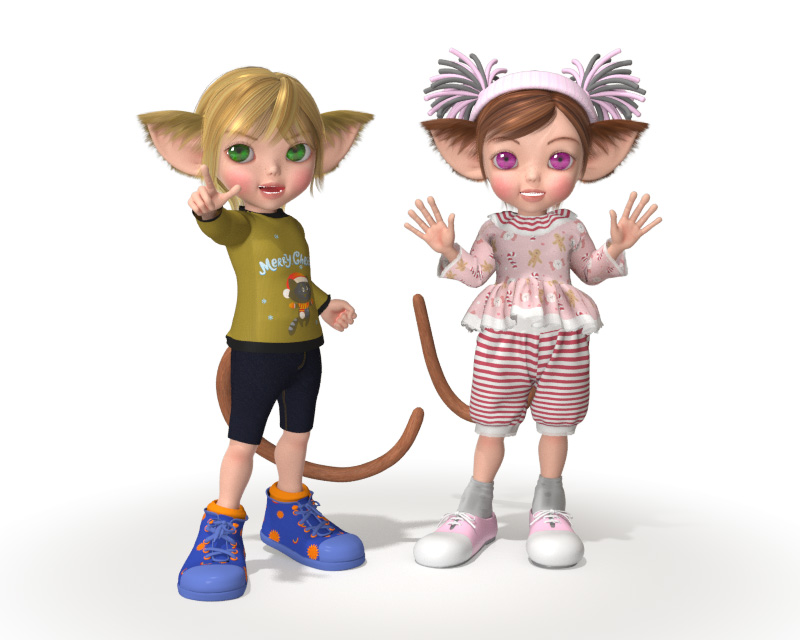
Completed after setting the materials! Poser’s Morphing tool is very easy to use.
mininessie
thank you so much ^^
elleque
Thank you for commenting 🙂